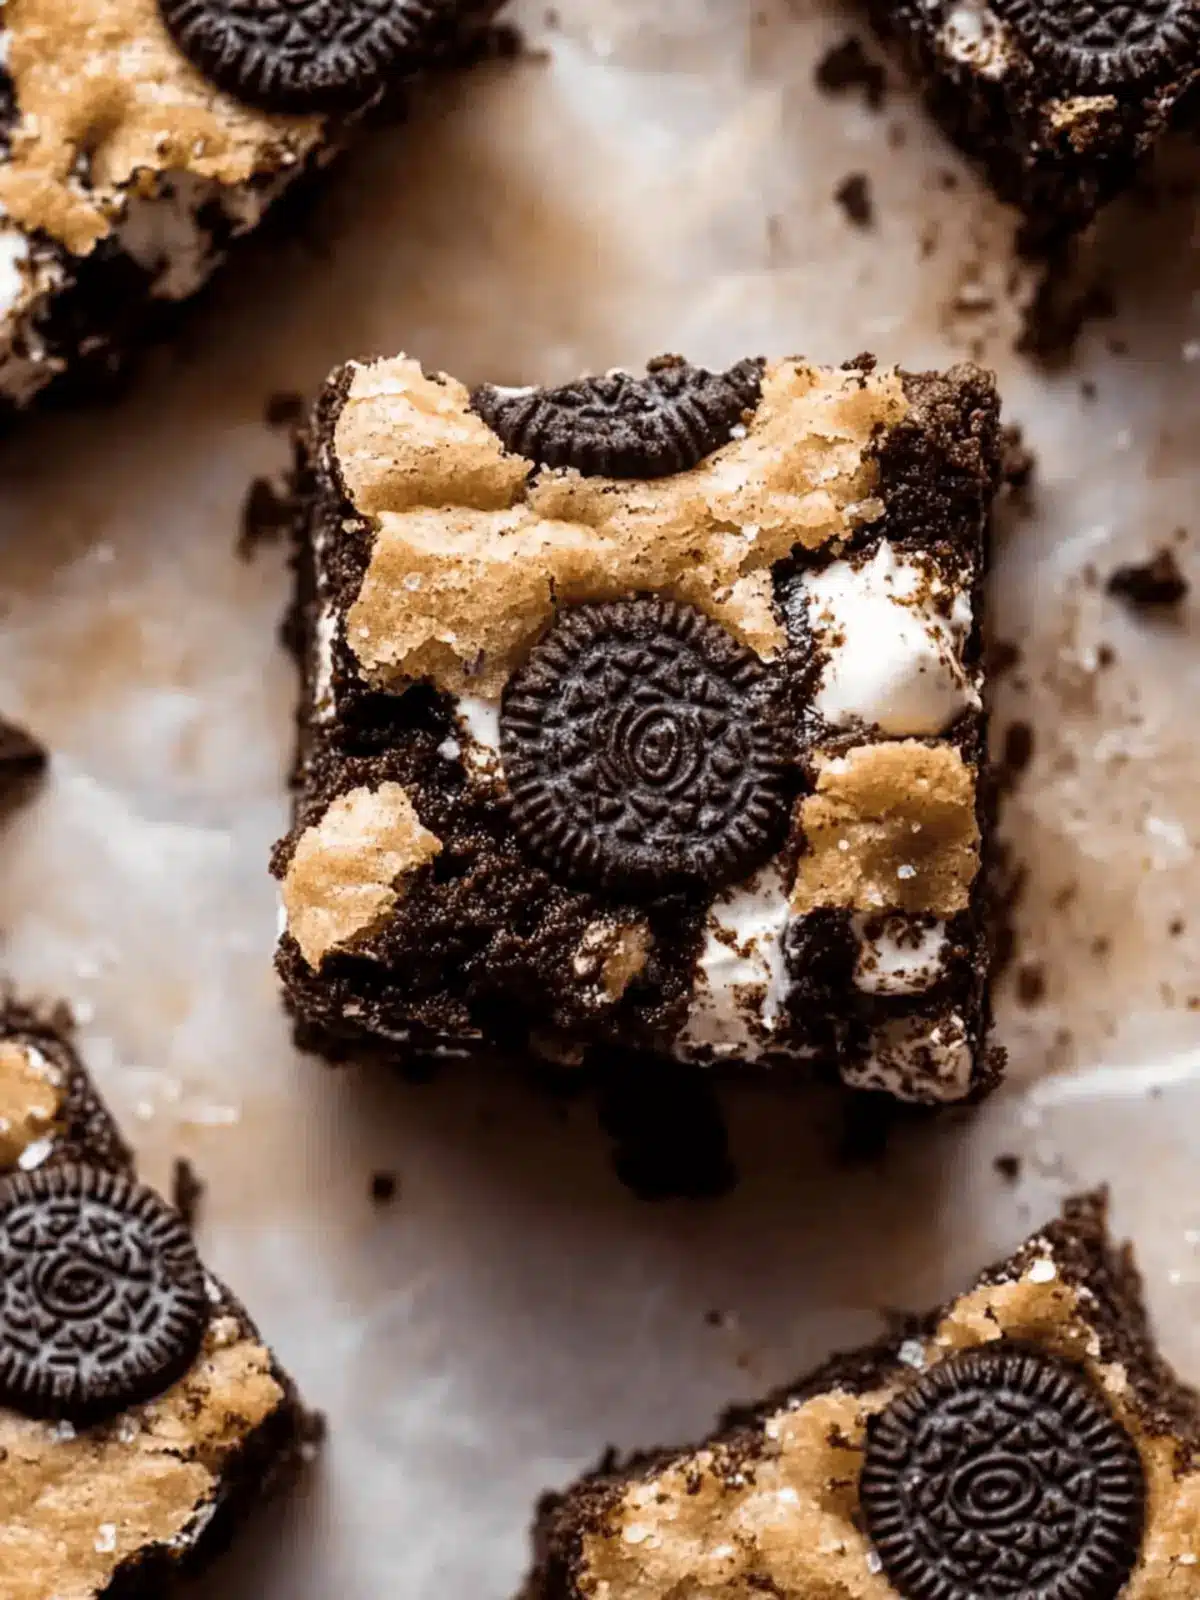
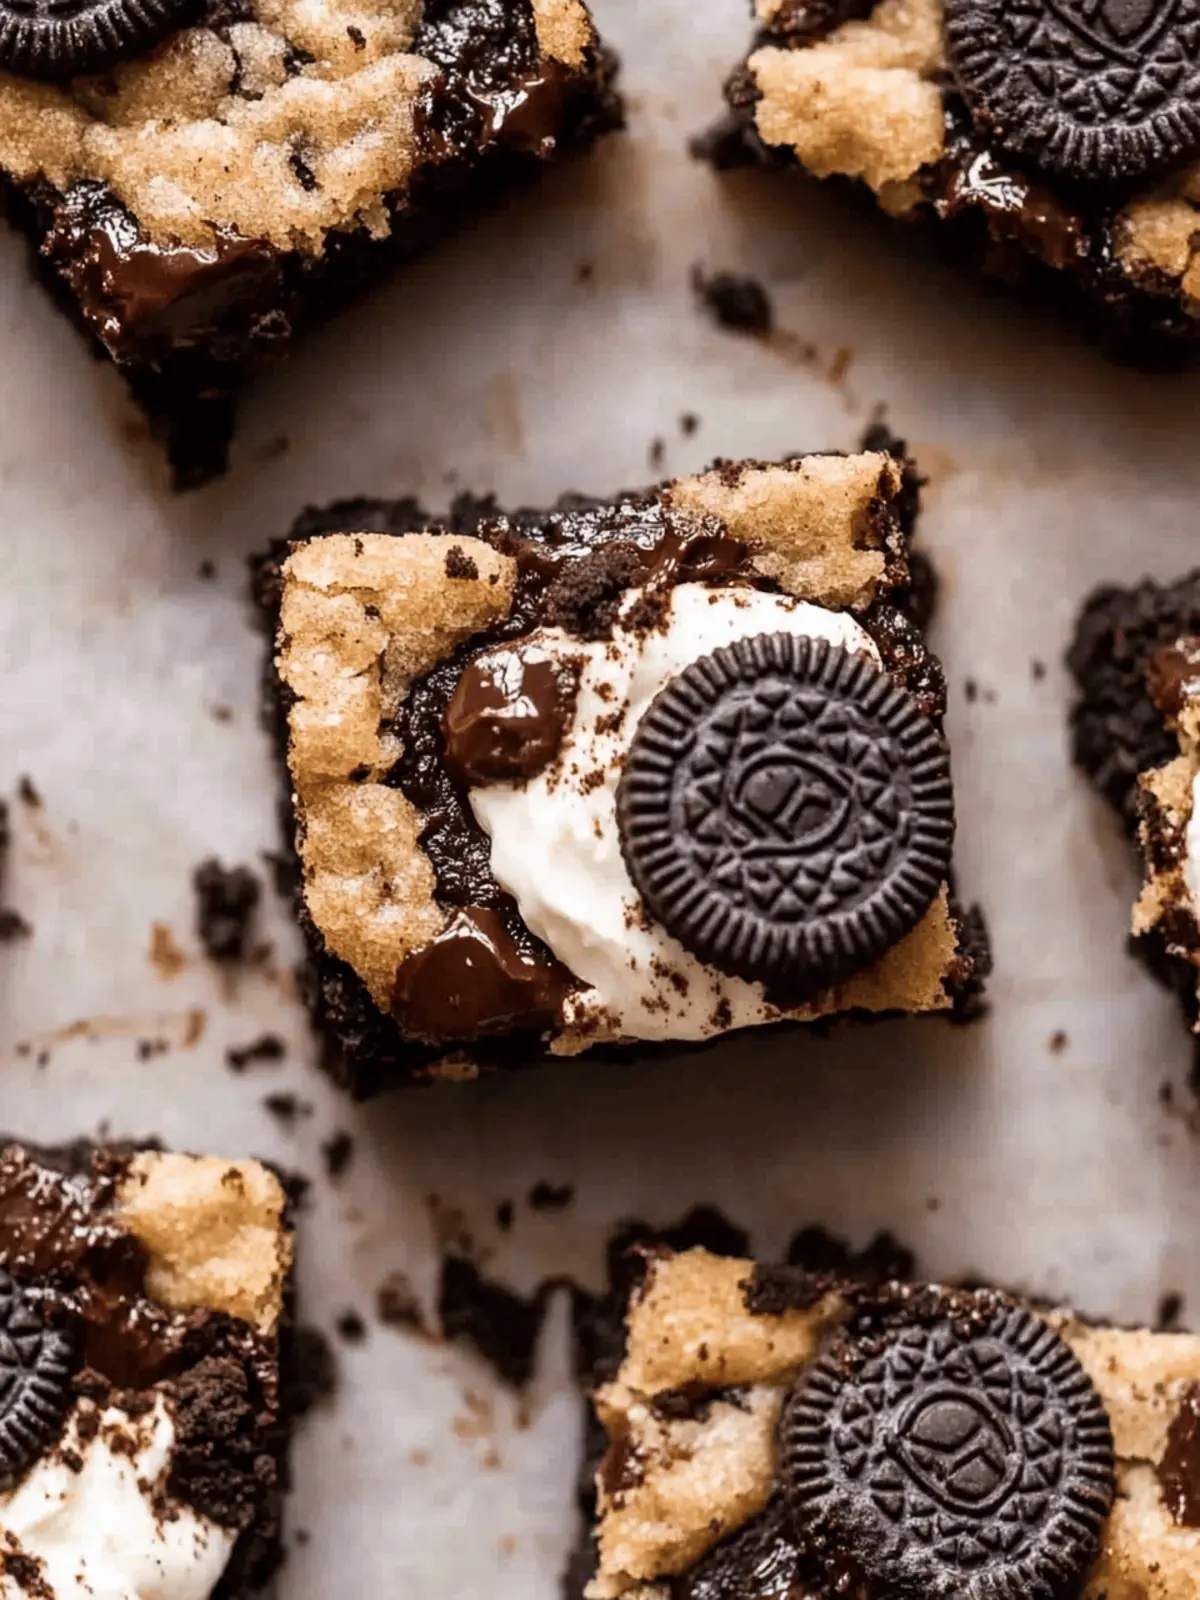
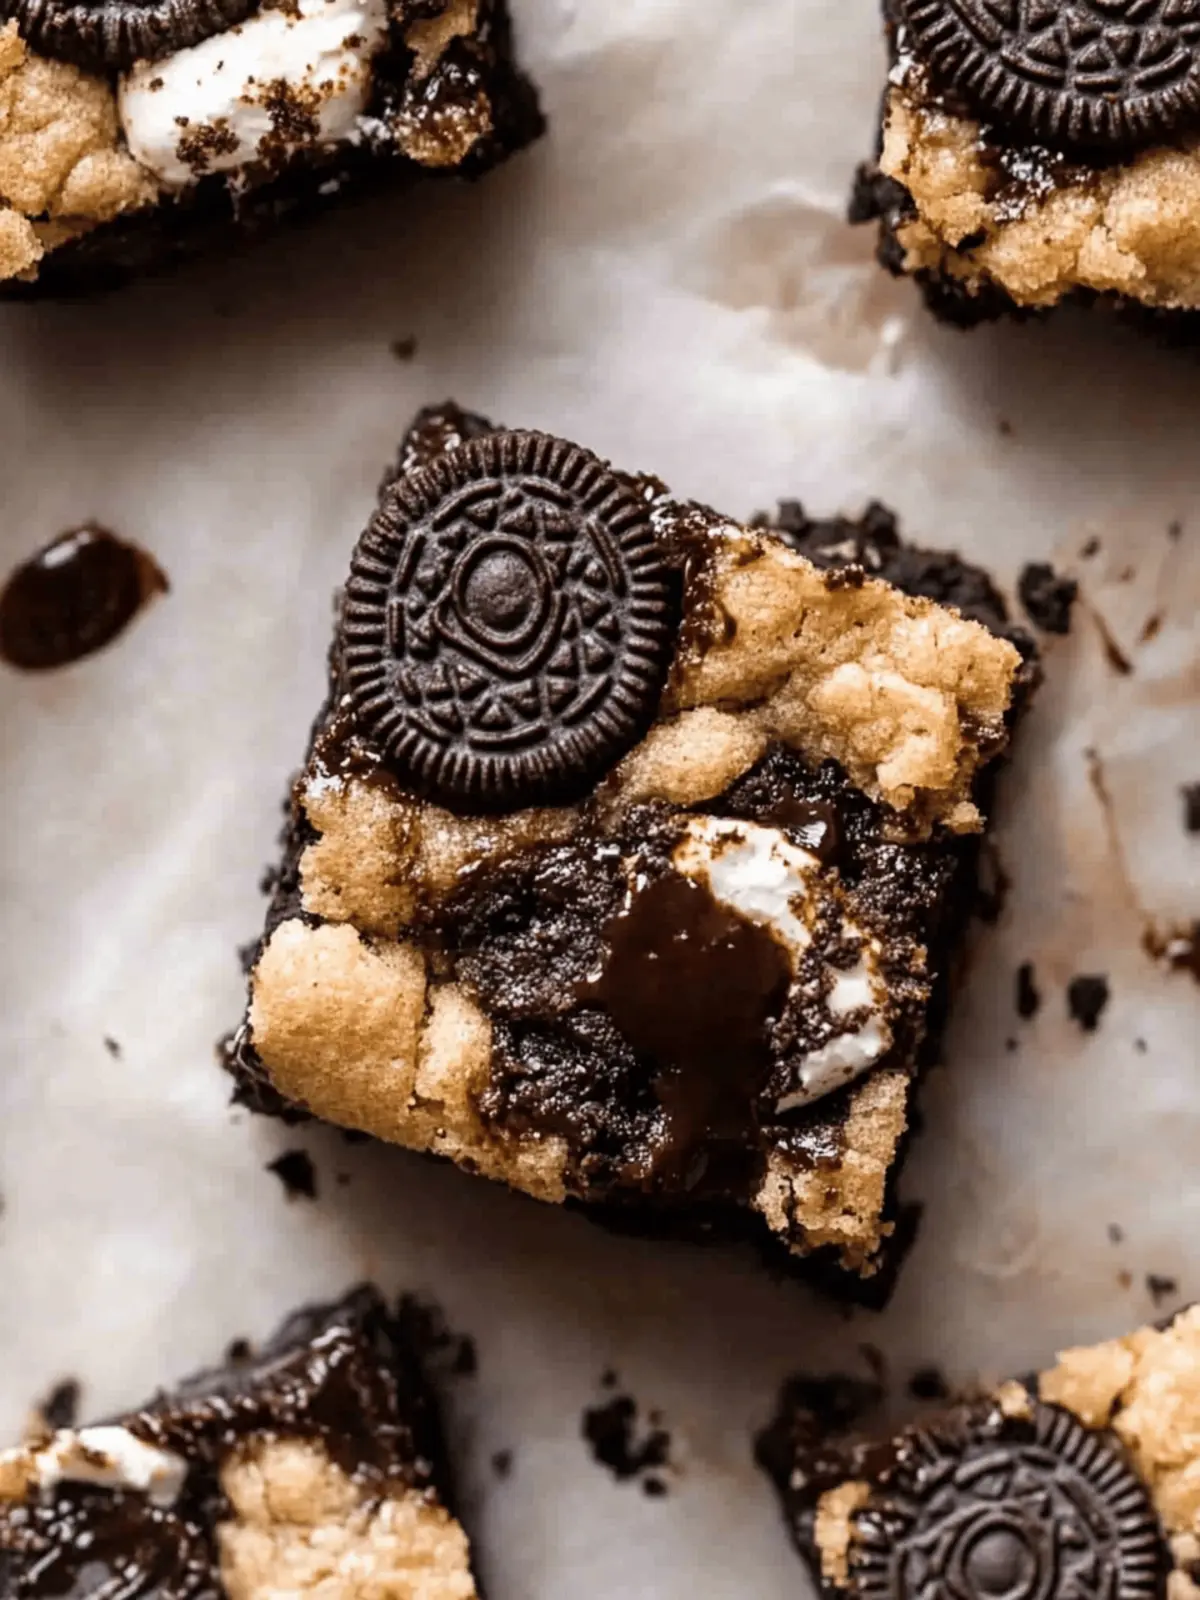
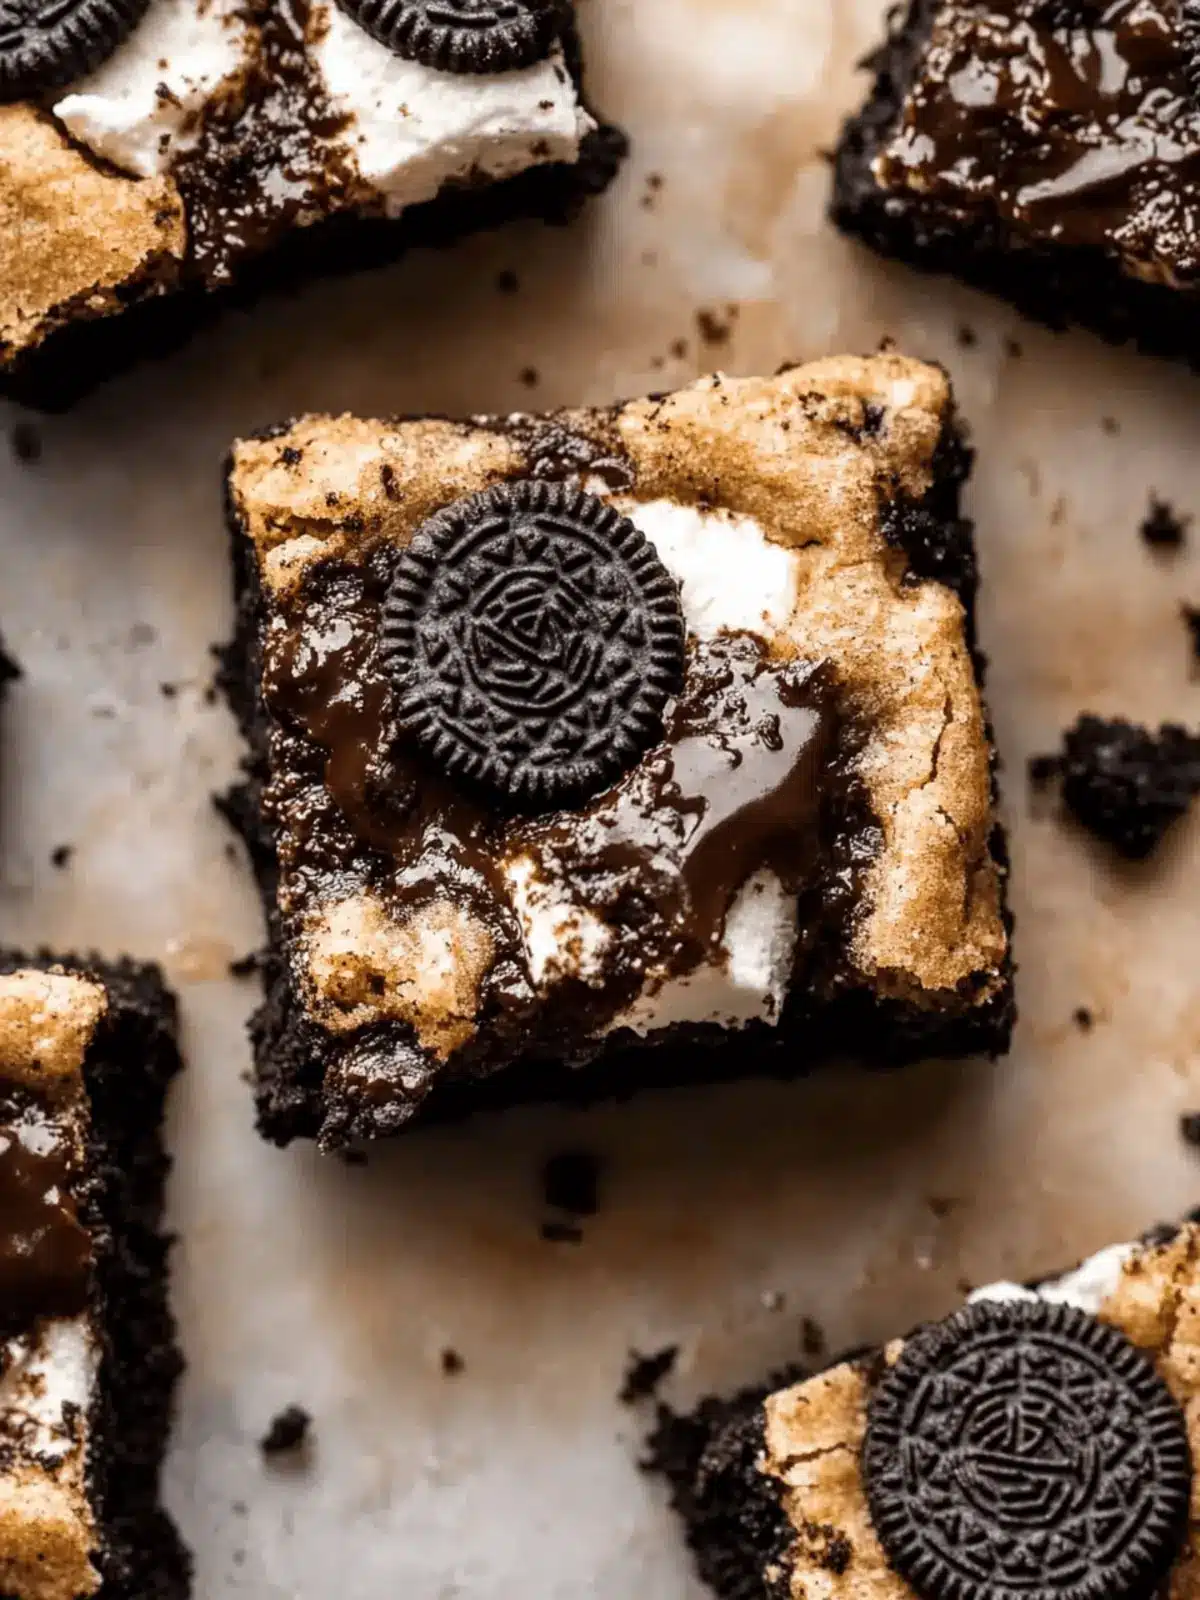
You know that feeling when you walk into a kitchen filled with the sweet, irresistible scent of freshly baked treats? That’s exactly what happened one rainy afternoon when I decided to whip up a batch of these divine Oreo Brookies. Combining the fudgy richness of brownies with the chewy delight of cookies, these treats are the ultimate dessert for those of us who can’t pick a favorite.
As I took my first bite, I was transported to my childhood, where sharing cookies with friends was a simple joy. The crunch of Oreo pieces throughout adds that perfect texture contrast, making each mouthful a delightful surprise. Whether you’re a home cook looking to impress or just seeking a sweet remedy after a long day, these brookies fit the bill effortlessly. Best of all, you can switch up the Oreo flavors for a fun twist, making them endlessly versatile—perfect for any occasion! Let’s dive into this chocolatey goodness and whip up some magic in the kitchen!
Why are Oreo Brookies the ultimate treat?
Unmatched flavor: Each bite is a heavenly blend of fudgy brownie and chewy cookie intensified by crunchy Oreo pieces.
Endless variations: Switch up the Oreo flavors, from mint to peanut butter, for a unique twist every time.
Quick and easy: Made with simple ingredients, this recipe is approachable for bakers of all levels, making it perfect for a spontaneous treat!
Perfect for sharing: Great for gatherings and parties, these brookies will impress your friends and family, garnering rave reviews.
Irresistible aroma: The delightful smell of baking cookies and brownies will have your kitchen glowing with warmth and charm.
Dive into the joy of baking and create your own batch of Oreo Brookies that everyone will love!
Oreo Brookies Ingredients
For the Cookie Layer
• Unsalted butter – Adds fat for rich flavor and moisture; you can substitute with salted butter if reducing added salt.
• Light brown sugar – Provides sweetness and moisture for a soft, chewy texture; dark brown sugar can be used for a deeper flavor.
• Granulated sugar – Balances sweetness and texture; no substitutes recommended.
• Large egg yolk – Binds the cookie dough, creating a tender crumb; using a whole egg gives a less rich cookie.
• Vanilla extract – Adds depth to both layers; no substitutions available.
• All-purpose flour – Provides structure; gluten-free or almond flour can work for a different texture.
• Fine sea salt – Enhances flavor; kosher salt is an alternative—just adjust the amount accordingly.
• Baking soda – Acts as a leavening agent for the cookie layer; crucial for texture, so no substitutes.
• Oreo cookies – Introduces flavor and texture; feel free to substitute with any Oreo variety for a fun twist.
For the Brownie Layer
• Unsalted butter – Important for a fudgy richness; again, salted butter can replace if salt levels are adjusted.
• Chocolate chips – Creates a smooth brownie batter; use chocolate chunks for an added chocolate texture.
• Granulated sugar – Helps form the classic brownie sweetness; no substitutes recommended.
• Large egg – Adds moisture and richness to the brownie; avoid substitutions for the best result.
• Cocoa powder – Enhances the chocolate flavor; ensure it’s unsweetened for the right balance.
Dive into the delightful mix of textures and flavors with these delicious Oreo Brookies!
How to Make Oreo Brookies
-
Preheat oven: Begin by preheating your oven to 350°F (180°C). This ensures your Oreo Brookies bake evenly and to perfection. Line an 8×8 baking pan with parchment paper for easy removal later.
-
Cream butter and sugars: In a mixing bowl, cream together ½ cup unsalted butter, ½ cup light brown sugar, and ¼ cup granulated sugar for about 2 minutes. This mixture should be light and fluffy—just like your mood will be once you smell these baking!
-
Add egg yolk and vanilla: Mix in one large egg yolk and 1 teaspoon of vanilla extract until well combined. These ingredients will bind everything together and bring that delicious flavor to life.
-
Fold in dry ingredients: Gradually fold in 1 ½ cups all-purpose flour, ½ teaspoon baking soda, ¼ teaspoon sea salt, and 1 cup chopped Oreo cookies until just combined. Be gentle here; you want to keep that lovely cookie texture!
-
Make the brownie batter: For the brownie layer, melt ½ cup unsalted butter and 1 cup chocolate chips together in a microwave-safe bowl until smooth. Stir until well combined and let it cool slightly so you don’t cook the eggs next!
-
Prepare brownie mixture: In a separate bowl, whisk together 1 large egg, 1 cup granulated sugar, and 1 teaspoon vanilla extract until light. Then, mix in your melted chocolate and butter mixture until combined.
-
Incorporate dry ingredients: Fold in ½ cup all-purpose flour, ⅓ cup unsweetened cocoa powder, and ¼ teaspoon sea salt until just combined. This creates a rich brownie base that will contrast beautifully with the cookies!
-
Layer it up: In your prepared baking pan, scoop alternate spoonfuls of cookie dough and brownie batter. Press them down slightly to level for even baking.
-
Top with Oreos: Sprinkle some extra Oreo pieces on top of the mixture for that extra crunch and flavor surprise when they bake!
-
Bake to perfection: Place the pan in the oven and bake for 25-27 minutes. Cover with foil after 20 minutes to avoid over-browning. Check doneness using a toothpick—it should come out with moist crumbs, not wet batter!
-
Cool and cut: Once baked, let the Oreo Brookies cool in the pan for about 15 minutes before cutting into squares. Enjoy the aroma that fills your kitchen!
Optional: Serve warm with a scoop of ice cream for an extra indulgent treat!
Exact quantities are listed in the recipe card below.
Make Ahead Options
These delicious Oreo Brookies are perfect for meal prep enthusiasts looking to save time on busy weeknights! You can prepare both the cookie and brownie layers up to 24 hours in advance. Simply mix the cookie dough and brownie batter, then refrigerate them separately in airtight containers. This prevents the cookie dough from drying out and maintains the rich fudginess of the brownies. When you’re ready to bake, layer the doughs in your baking pan, sprinkle with extra Oreos, and then bake as directed. Trust me, they’ll turn out just as delicious, saving you time and hassle! Enjoy the convenience of having these delightful snacks ready to go whenever a sweet craving strikes!
Oreo Brookies Variations & Substitutions
Feel free to get creative with your Oreo Brookies and tailor them to your taste buds with these tempting ideas!
- Flavorful Oreos: Swap standard Oreos for flavored varieties like mint or peanut butter for a delicious twist.
- Gluten-Free: Use a gluten-free all-purpose flour blend to cater to dietary needs while keeping the texture delightful.
- Chocolate Chunks: Replace chocolate chips with chocolate chunks for extra rich chocolate flavor in your brownie layer.
- Nutty Delight: Fold in chopped walnuts or pecans into the brownie batter to add a satisfying crunch and depth.
- Spicy Kick: Add a pinch of cayenne pepper or cinnamon to the cookie layer for a surprising but enjoyable heat.
- Extra Fudgy: Incorporate one additional egg for a fudgier brownie texture that melts in your mouth.
- Dairy-Free: Use coconut oil instead of butter and non-dairy chocolate chips for a dairy-free treat.
- Cookie Butter Swirl: Add spoonfuls of cookie butter into the brownie layer for an irresistible and creamy swirl of flavor.
Let your imagination run wild and enjoy the process of making these Oreo Brookies your own!
Expert Tips for Oreo Brookies
Accurate Measurements: Use a kitchen scale to weigh your ingredients for perfectly textured Oreo Brookies—too much flour can lead to dryness!
Baking Time Check: Remember to cover your brookies with foil after 20 minutes to prevent over-browning. It helps maintain that fudgy goodness!
Avoid Overmixing: When combining your dry and wet ingredients, mix just until combined to ensure the cookie layer stays tender and chewy.
Let Cool Properly: Allow your brookies to cool in the pan for at least 15 minutes before cutting; this helps them set and prevents crumbling.
Experiment with Flavors: Don’t hesitate to swap out regular Oreos for flavors like mint or peanut butter, adding a unique twist to your classic Oreo Brookies!
Storage Tips for Oreo Brookies
Room Temperature: Store your Oreo Brookies in an airtight container at room temperature for up to 3 days to maintain their soft and chewy texture.
Fridge: If you prefer a firmer texture, you can refrigerate them for up to 5 days in an airtight container. Just allow them to reach room temperature before serving.
Freezer: For longer storage, wrap individual pieces tightly in plastic wrap and place them in a freezer-safe bag. They can be frozen for up to 1 month without losing flavor.
Reheating: To enjoy your frozen Oreo Brookies, simply thaw them in the fridge overnight and warm them in the microwave for about 10-15 seconds for that fresh-out-of-the-oven taste!
What to Serve with Oreo Brookies?
Indulging in the blissful flavors of Oreo Brookies is an experience of its own, but adding delightful sides and drinks can elevate the entire dessert experience.
-
Vanilla Ice Cream: This classic pairing is ideal for balancing the rich chocolate of the brookies, melting into every warm bite.
-
Whipped Cream: A dollop of fluffy whipped cream adds lightness against the fudgy texture, enhancing the overall richness.
-
Fresh Berries: Bright, juicy strawberries or raspberries provide a refreshing contrast to the sweetness of the brookies, making each bite feel festive.
-
Chocolate Sauce: Drizzling rich chocolate sauce over warm brookies intensifies the dessert’s chocolatey goodness—guilty pleasure alert!
-
Coffee or Espresso: Pairing with a strong coffee brings forward the deep chocolate flavors, making it a perfect indulgence for those cozy evenings.
-
Milkshake: A creamy milkshake echoes the nostalgia of childhood treats, creating a fun, playful vibe alongside your delicious Oreo Brookies.
Every option heightens the joy of indulging in these delightful treats, making each moment around the table something to treasure!
Oreo Brookies Recipe FAQs
How do I choose the right Oreo cookies for my brookies?
Absolutely! You can use any Oreo flavor you like—classic, Double-Stuffed, mint, or even seasonal varieties. Each will bring its unique twist to your brookies. If you’re feeling adventurous, try mixing different flavors together for an exciting taste experience!
Advertisement
How should I store leftover Oreo Brookies?
You can store your Oreo Brookies in an airtight container at room temperature for up to 3 days. If you want them to last longer, you can refrigerate them for up to 5 days or freeze them for up to 1 month, wrapped tightly in plastic wrap to maintain freshness.
Can I freeze Oreo Brookies?
Yes, you can absolutely freeze your Oreo Brookies for later enjoyment! I’ve found the best way is to let them cool completely, then wrap each piece tightly in plastic wrap. Place the wrapped pieces in a freezer-safe bag and enjoy them within 1 month for the best flavor. To reheat, simply thaw in the fridge overnight and warm them up briefly in the microwave for that freshly-baked taste!
What if my dough is too dry?
If your cookie dough seems too dry, it might be due to excessive flour measurement. I recommend lightly spooning flour into your measuring cup and leveling it off for accuracy. If it still feels dry, you can add a teaspoon of milk or melted butter to loosen the mixture and achieve the perfect consistency.
Can I make these Oreo Brookies gluten-free?
Definitely! You can substitute the all-purpose flour with a gluten-free flour blend or almond flour for a gluten-free option. Just be sure to check that your other ingredients, like the Oreo cookies, are also gluten-free as some may contain wheat.
Do these brookies hold up well for gatherings?
Very! These Oreo Brookies are not only delicious but also visually appealing, making them perfect for parties or gatherings. Just cut them into squares and place them on a beautiful platter for an impressive dessert that will surely wow your guests!

Oreo Brookies: Chewy, Fudgy Bliss in Every Bite
Ingredients
Equipment
Method
- Preheat your oven to 350°F (180°C) and line an 8x8 baking pan with parchment paper.
- Cream 1/2 cup unsalted butter, 1/2 cup light brown sugar, and 1/4 cup granulated sugar together for about 2 minutes.
- Mix in 1 large egg yolk and 1 teaspoon of vanilla extract until well combined.
- Gradually fold in 1 1/2 cups all-purpose flour, 1/2 teaspoon baking soda, 1/4 teaspoon sea salt, and 1 cup chopped Oreo cookies.
- Melt 1/2 cup unsalted butter and 1 cup chocolate chips together until smooth, then stir and let cool slightly.
- In a separate bowl, whisk together 1 large egg, 1 cup granulated sugar, and 1 teaspoon vanilla extract until light. Mix in melted chocolate mixture.
- Fold in 1/2 cup all-purpose flour, 1/3 cup cocoa powder, and 1/4 teaspoon sea salt.
- In the baking pan, scoop alternate spoonfuls of cookie dough and brownie batter, pressing down slightly.
- Top with extra Oreo pieces before baking.
- Bake for 25-27 minutes, covering with foil after 20 minutes. Check doneness with a toothpick.
- Let cool in the pan for about 15 minutes before cutting into squares.


